
Finding the best tool
Since the forced switch to remote instruction in Spring 2020 instructors have been trying to find the best solutions for recording, editing, and publishing videos for their classes. This, of course, is a time consuming process and it often involves dealing with technological barriers, accessibility, privacy and anonymity issues. Although there are plenty of advanced video editing software suites and tools, quite often educators need quick and simple solutions that save time and effort in the process from a large video file or a Zoom recording to an edited video that is ready to publish or embed in a course website. Many popular tools or platforms such as iMovie or YouTube Studio offer effective tools for video editing that are being used by millions of users. In the last few years, however, new video editing tools and suites have been developed that specialize in instructional video creation or seem more fitting for to the needs of teachers and educators. Depending on the intended use there are many software tools than can cover basic video-making and video-editing needs for educational content, from lightweight, browser-based tools to full video editing studios available as desktop applications. Simple, lightweight video editors may cover you basic editing needs, but it is important to be aware of any limitations (e.g. video limit), subscription-only features, and exporting/downloading capabilities before you decide what tool best fits your needs.
This tutorial focuses on a few video editing tools that are 1) lightweight, browser-based or simple to use 2) cost-free or available at a minimum cost 3) available across different platforms and operating systems 4) combine, in some cases, webcam recording/screen casting with video editing.
Screencastify
Screencastify is a screen casting, recorder and editing tool that can be installed and used in/from your Chrome browser. Your videos are automatically saved in your Google Drive folder. Screecanstify is a really intuitive way of recording presentations or lectures that can save time by integrating the video creation, editing, and publishing process in the browser. However, the free version comes with a 5 minute duration limit for each video that is edited or recorded.
Screencast-O-Matic
Screencast-O-Matic is a tool that is similar to Screencastify but offers more advanced features, especially for video editing. Similarly to Screencastify, it can capture browser tab, a window application or record from a webcam. It also offers quick ways to share and export videos. Although some basic editing (such as trimming a video) is possible in its media players, access to to the video editor (where a suite of tools for adding captions, narrations and audio is available) requires a paid subscription.
Please note: as of March 2024, Screencast-O-Matic has changed its name to ScreenPal.
Kapwig
Kapwig is another browser-based tool for creating and sharing videos online. Although it doesn’t offer screen/webcam recording capabilities it supports the combination of different media sources (text, image, audio, video) into “scenes” that can be exported as ready-to-stream or download videos. Its free version comes with a 7 minute duration limit and a 250 MB file size limit.
OpenShot
OpenShot video editor is an open source and cross-platform video editing tool that you can download for free and use in your Microsoft Windows, MacOSX, or Linux operating system. OpenShot is a full video editing software solution and is not limited to basic video editing functions but it can provide a great cost-free alternative that can cover basic needs in video creation.
Video recording and editing with Screencastify
Recording
There are thee options for recording a video with Screencastify: “Browser Tab”, “Desktop”, “Webcam Only.” Both in “Browser Tab” and “Desktop” mode, users can activate the “Microphone” or “Embed Webcam” feature.
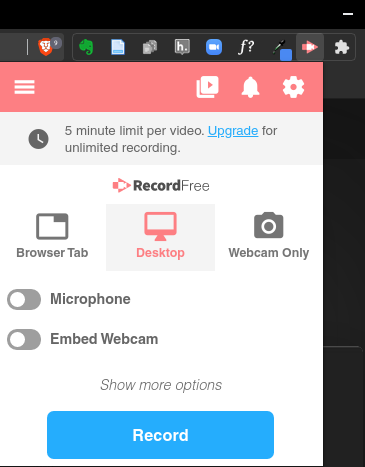
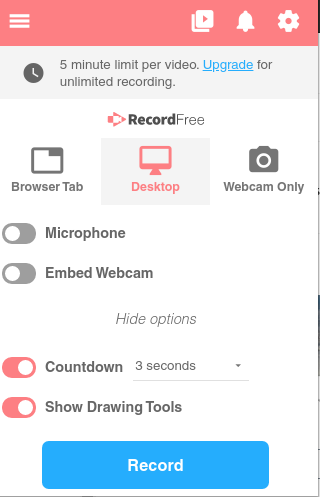
Desktop recording mode in Screencastify. Recording mode is activated by clicking on the extension icon on the browser. Once clicking on “Record” users can capture the contents of their Desktop environments and of any application running. By clicking on “More options” users can set a countdown or make the annotation tools visible:
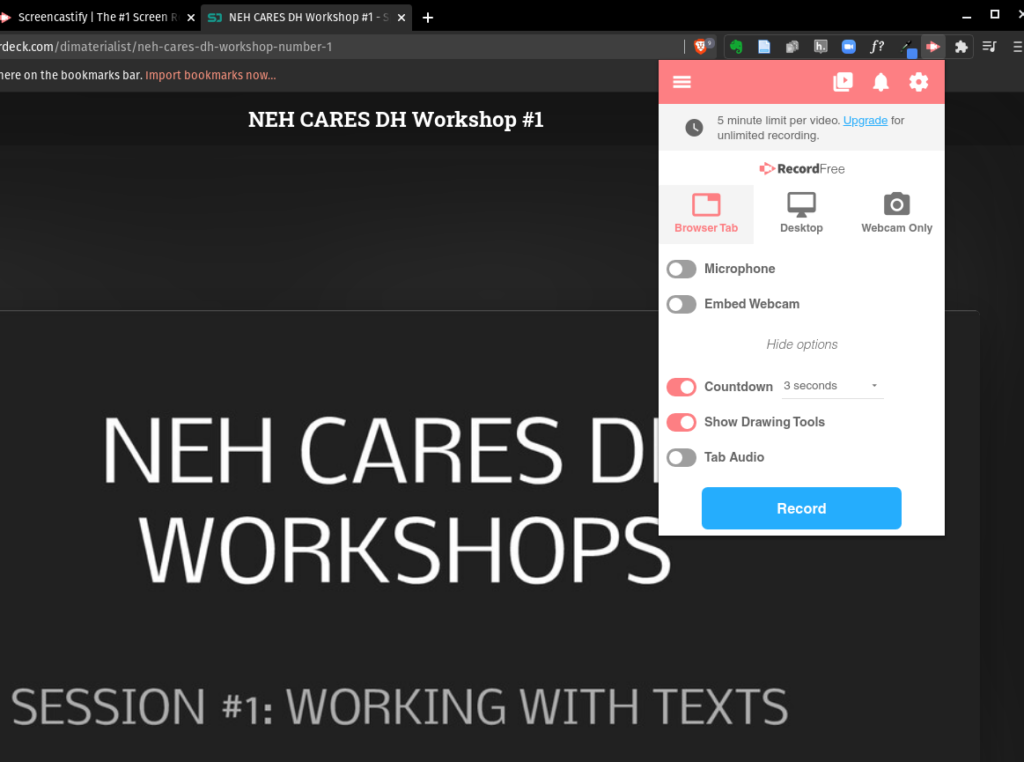
Browser tab recording mode in Screencastify. Recording mode is activated by clicking on the extension icon on the browser. Once clicking on “Record” users can capture the contents of an active browser tab. All tabs can be captured by Screencastify. However, annotation tools are not available in blank new tabs or for URLs that begin with “chrome://” (including all pages in the Screencastify extension). When annotation tools are not available, users will see this message:

Trimming videos
As soon as you stop recording, Screencastify will open your recorded session in a new tab where you can play or rewind the video. If there are certain segments that you don’t want to be included in the final video you can remove them by using the trimming tool available in the video player:
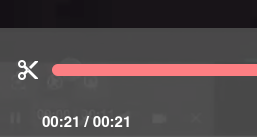
Here’s an example of trimming a video in the Screencastify video player:

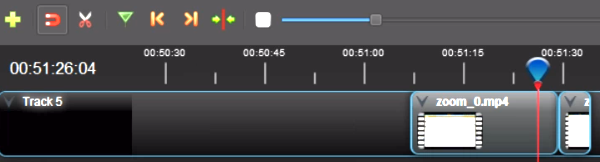
If you need to be more precise in your editing you can also trim your video in Screencastify’s editor. On the video player window, click on “Open in Editor” to launch the editor.

Trim your video by dragging the end point in the timeline or by removing selected clips:
Adding text or captions
You can add text in your video by adding a text box as shown below:
Sharing, downloading, and exporting
Videos you create with Screecastify are automatically saved in you Google Drive and can be later accessed and edited. In the “Export” menu you can define whether you want to share the video or keep it private, download it as a local video or animated GIF file, embed it in a website or directly publish it to Youtube. Keep in mind that there is 5 minute duration limit for each recording you will be able to save, share and export in the free version of Screencastify.

It is easy to embed a Screecastify video in a website either directly by using the link or by copying the iframe in the “Get embed code” option. Animated GIFS can be embedded in most content management systems (e.g. WordPress) as images.
Video recording and editing with Screencast-O-Matic
Screencast-O-Matic is a suite of tools combining screen casting / video recording and video editing. Although you will be able to use the recording and screen casting feature with the free version of Screencast-O-Matic, access to the video editor requires a paid subscription to one of the plans available.
Recording
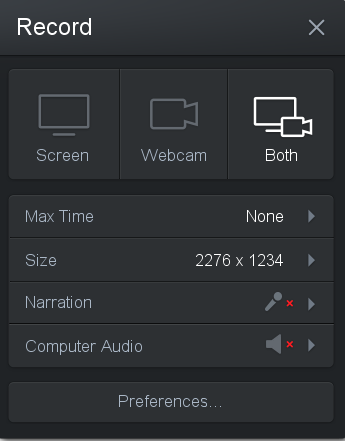
The Screecast-O-Matic video recorder allows users to capture their screen, webcam, or both with optional support for voice-over narration of computer audio and it comes with drawing and annotation tools.
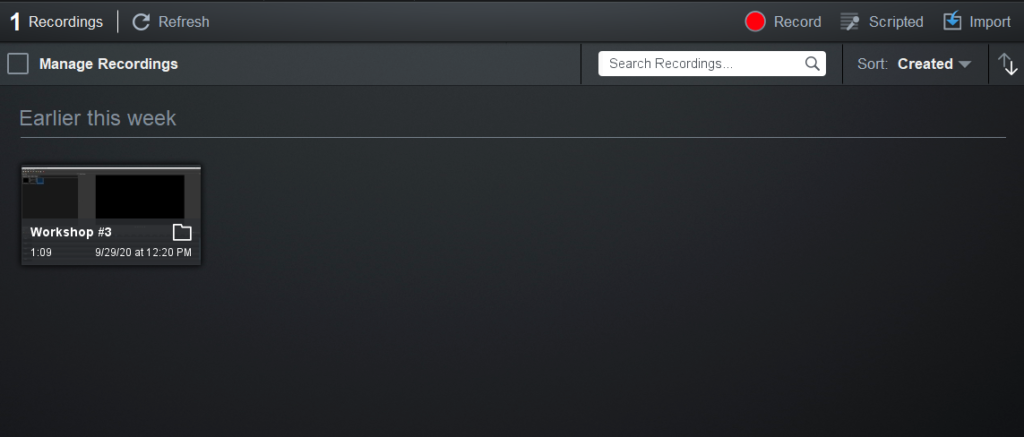

Trimming and saving videos
Once you record your video you can them trim your recording before saving or publishing it without having to use the video editor. Here’s an example:
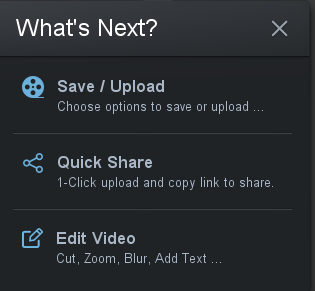
You can then choose to share or upload your recording or continue editing in the video editor (requires paid subscription).
Using Screencsat-O-Matic’s video editor
Screencast-O-Matic’s video editor provides a set of additional tools for more precise and advanced editing. It allows precise cutting, adding text and captions, narration, and music. Here’s an example of cutting a certain part of a video:
You can use “Sync Points” in the timeline to add captions:
Or, you can add narration audio in specific parts:

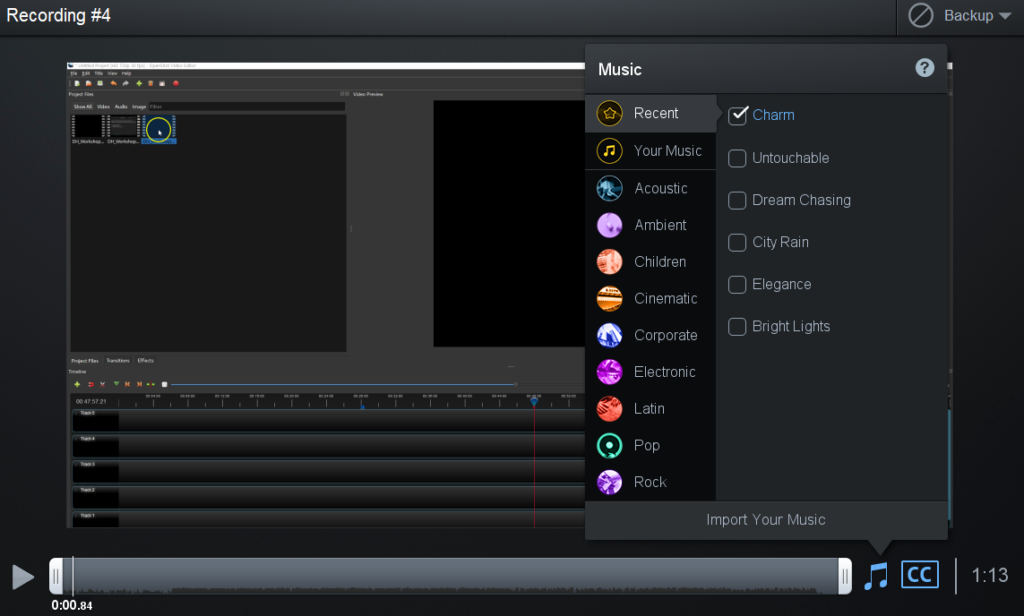
The editor comes with music clips that you can add to your recording:
Saving and exporting
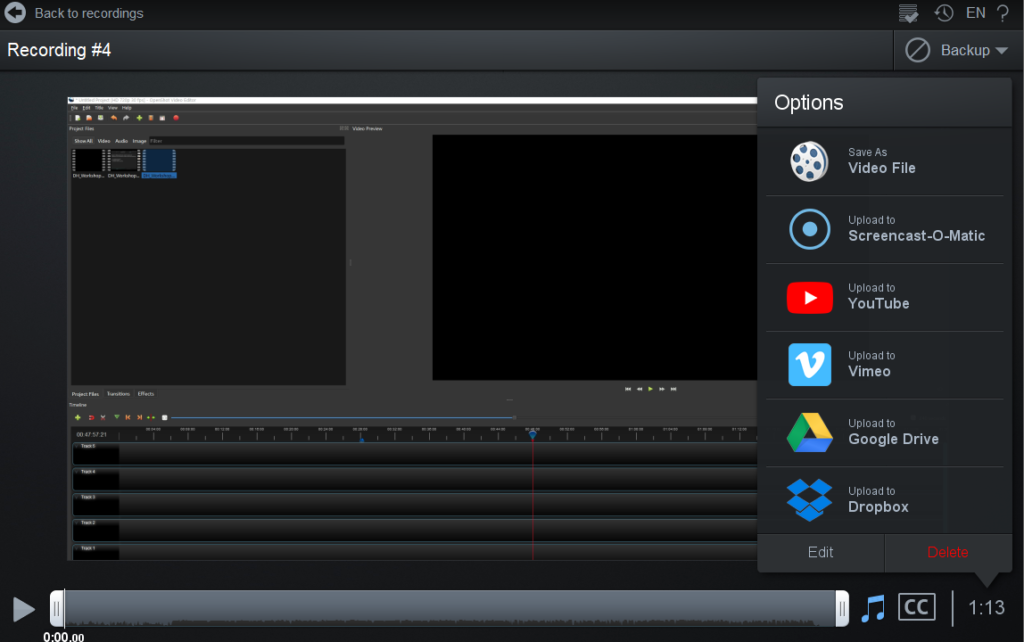
When you are done with editing your video you can save it locally as a video file, upload it directly to Screencast-O-Matic or save and share on Youtube, Vimeo, Google Drive or Dropbox.
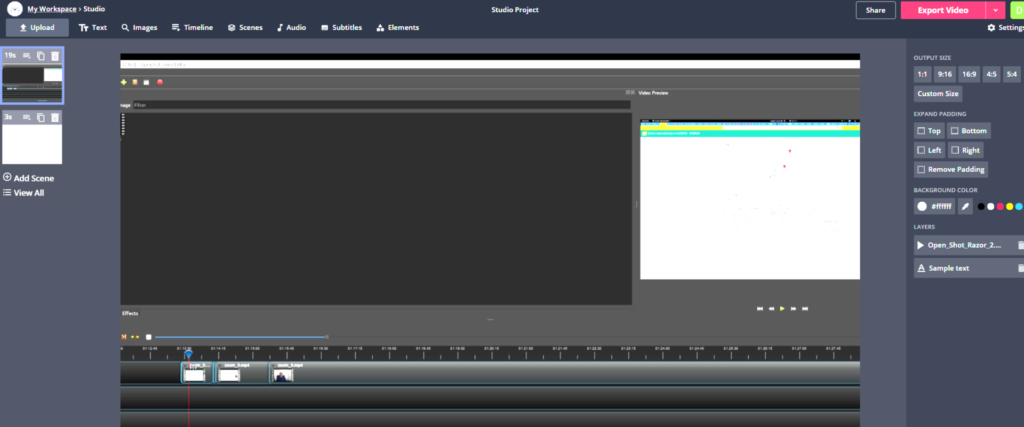
Creating videos with Kapwig
Kapwig is an online video making platform that allows users to quickly and easily create, upload, and share videos. The free version comes with certain limitations such a 7 minute video duration, a 250 MB file upload limit and public-only links to videos. However, even the free version offers a user friendly tool for basic video creation and editing that can save time for users. Kapwig “Studio” is the video editing environment where you can add scenes, images, audio, and subtitles to your videos:
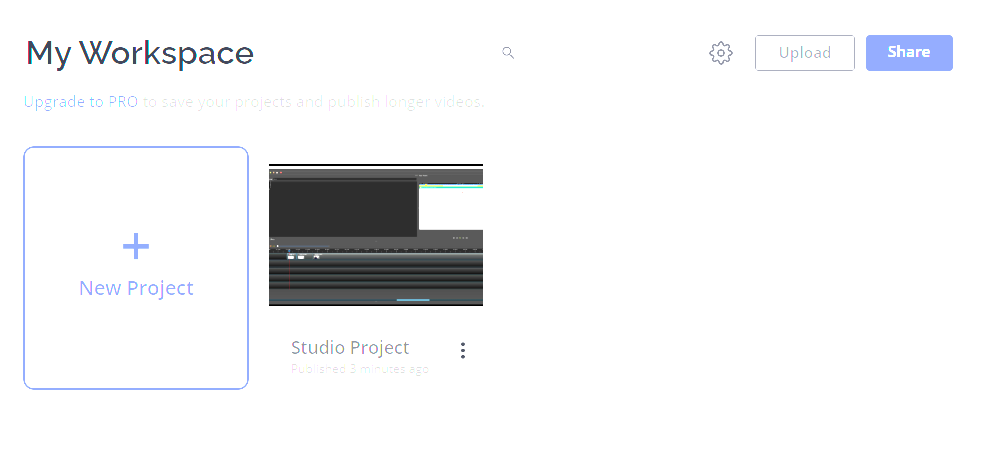
In “Workspace” you can manage, upload and share your projects.
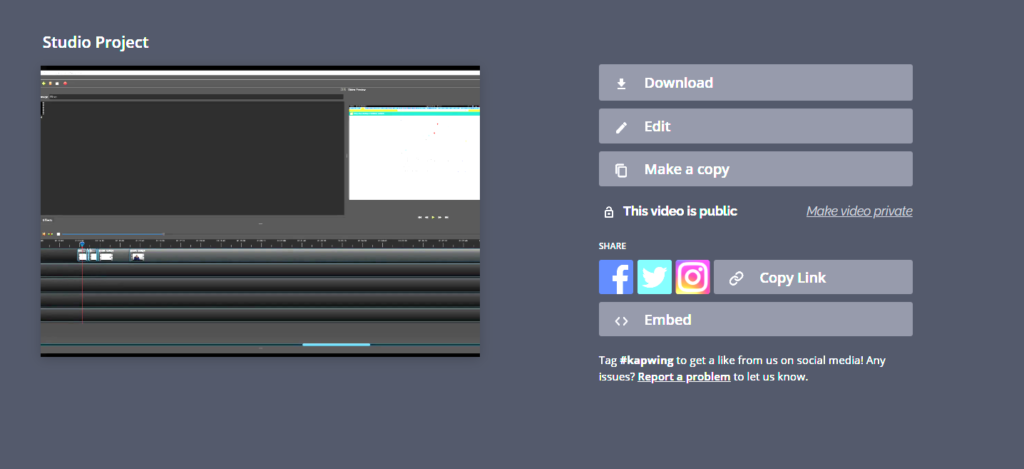
You can edit, copy, download (MP4), share or embed a selected project as show in the image below:
Video editing with OpenShot video editor
Open Shot video editor is a free, open source and cross-platform video editing tool that you can download and use in your Microsoft Windows, MacOSX, or Linux operating system. To start editing a media clip you need to drag and drop from the “project files” panel to the timeline.
Once you add a media file to the timeline you can slice one or more clips and keep only what you need in your timeline.


The “Razor” tool is a more precise method for cutting media clips:
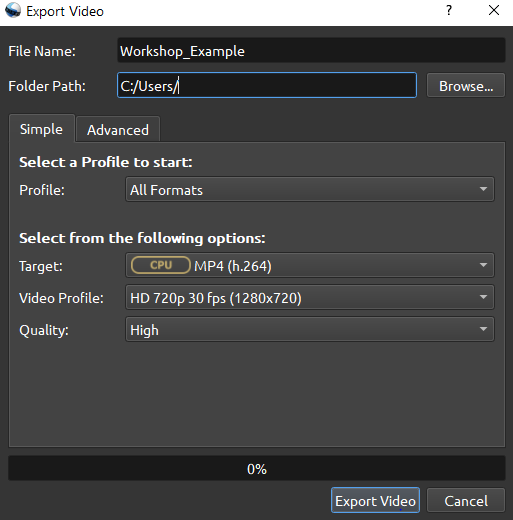
OpenShot supports exporting videos in many different formats including MP4, FLV, AVI, andMOV